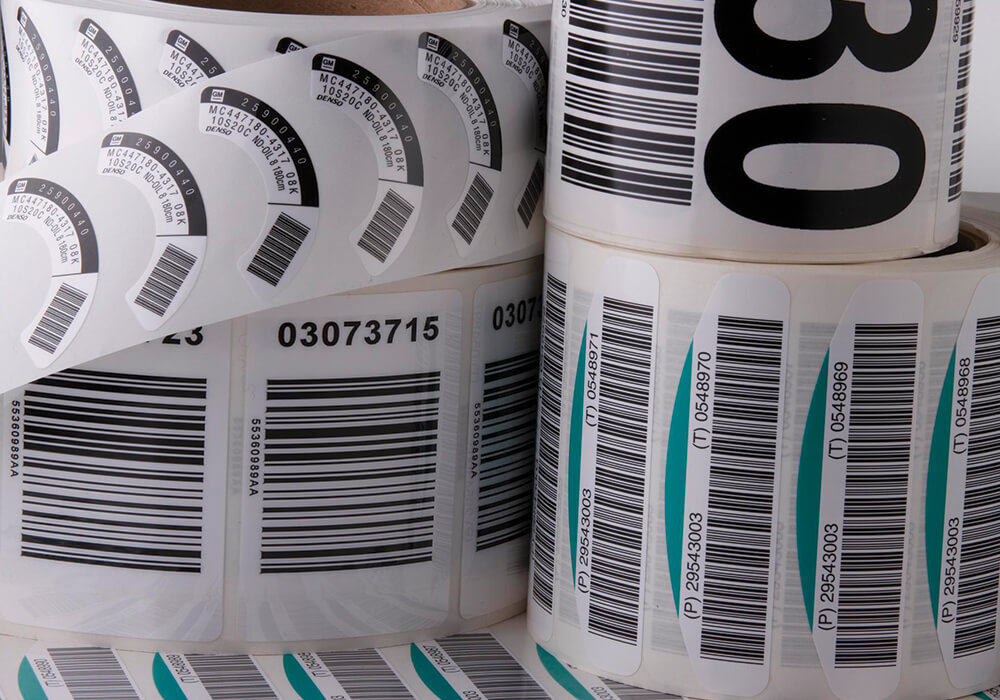
Barcodes ensure efficiency and accuracy in inventory management and sales processes. Our “10 Steps to Barcode Sticker Success” is a comprehensive guide designed to help businesses navigate the complexities of barcode implementation. From obtaining a GS1 identification to deciding on barcode printing methods and scanning environments and ensuring quality control, each step is meticulously detailed to provide actionable insights. Whether you’re new to barcoding or looking to refine your current system, this guide offers valuable tips to achieve optimal barcode performance and compliance.
STEP 1: Get a GS1 Identification for your Company
This is the first thing you must do when creating barcode sticker success for your organization. GS1 identification numbers are special numbers designated by GS1 US for your products and your organization. These are used to create exclusive numbers for your various products and your company itself.
STEP 2: Assign your Numbers
After establishing your GS1 Company Prefix, your organization must decide where your exclusive numbers will be placed. You will now have GS1 numbers for your business location, the company itself, individual company items, returnable items, and logistics units.
STEP 3: Decided on a Printing Method for your Barcodes
Next, you need to decide if you will use static or dynamic barcodes and what actual products will need barcodes. Static barcodes are the barcodes you see on boxes of crackers in the supermarket. Dynamic barcodes are unique labels printed for unique reasons.
STEP 4: Select your Principal Scanning Environment
Four different basic scanning environments can be used for scanning your products. The specifications of your barcodes depend upon where they will be scanned. Contact Whitlam Group to find out which of the scanning environment scenarios (listed below) is best for you and your trade items.
- Scanned in a general distribution fashion, much like a warehouse.
- Scanned special environments, such as devices used in the medical field
- Scanned at retail POS (point of sale)
- Scanned at POS and in distribution
STEP 5: Selecting a Barcode
The next thing you need to do is to decide which barcode is best for your products. There are a few technical details that must be added to your barcodes, depending on what they will be used for. Each barcode must be accompanied by a specific symbol based on how they will be scanned and distributed. Whitlam Group would love to hear from you, and would love to assist you with the technical issues to select the best barcode for your products.
STEP 6: Selecting the Size for your Barcode
After you have implemented the barcode symbols within your products, the next thing to do is design your barcode size. As we stated earlier, specific symbols are designated for each type of barcode, the size of this symbol will depend upon the specific symbol, where the symbol is used and how it will be printed.
STEP 7: Formatting Barcode Text
The numbers located below a barcode are very important. They’re important because if the barcode is damaged, or is of bad quality, then these numbers are used as a back-up. These are commonly referred to as Human Readable Interpretation. These letters, or numbers, can be of any font or size as long as they are readable. Contact Whitlam Group for assistance with the layout and placement of the Human Readable Interpretation text.
STEP 8: Barcode Color
The most common color configuration for barcodes is black bars with a white background. Other colors and combinations are available, but they are not as common. Whitlam Group strongly encourages you to contact them to let them help you to establish what color scheme is best for you.
STEP 9: Placement of Barcode
The packaging process is something you need to understand before you decide to place your barcode. Whitlam Group would be honored to help you with this process, contact them today!
STEP 10: Establish a Quality Plan
If barcodes are used properly, it’s smart to track the information of your items and the products that are associated with your product market. Whitlam Group has ways to help you monitor and observe the quality of your product’s barcodes.
Work With Whitlam Group For Your Barcode Needs
Mastering barcode implementation is essential for optimizing your business operations. By following the steps outlined in this guide, you can ensure accurate and efficient barcode usage, enhancing your inventory management and overall productivity. If you have questions or need expert assistance in achieving barcode success, please get in touch with Whitlam Group. Our team of specialists is ready to provide the support and solutions tailored to your specific needs. Contact us today to take a barcode sticker to the next level.
